


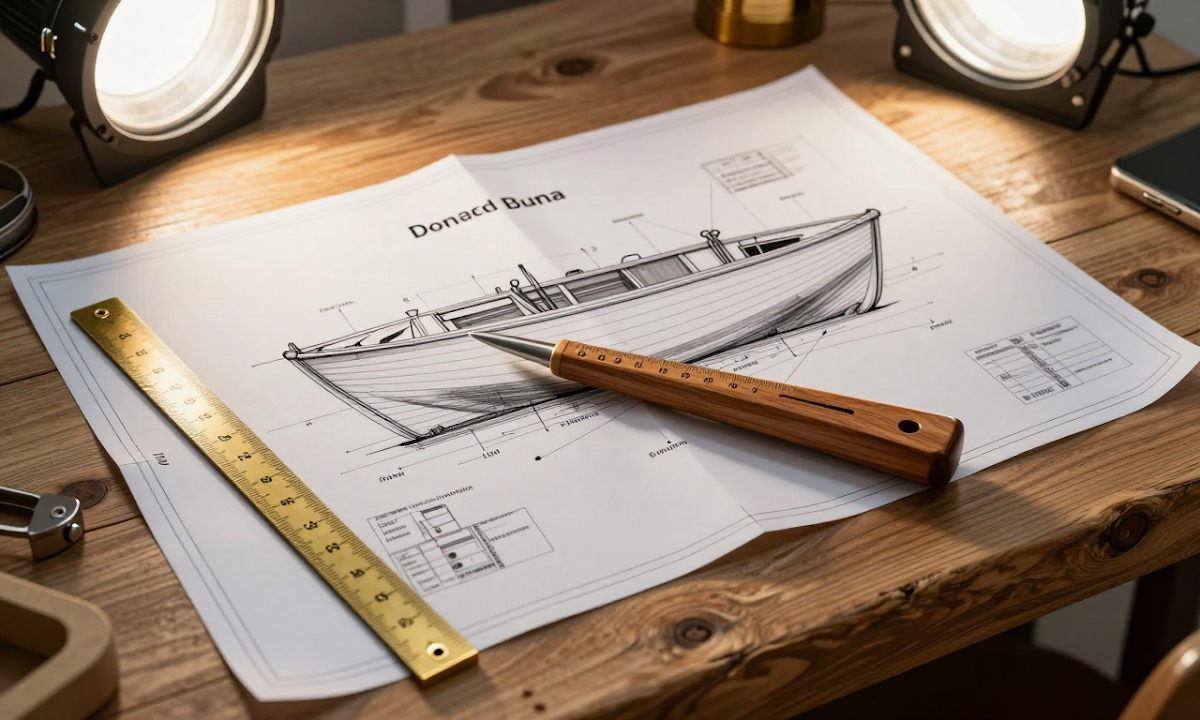
Reading boat blueprints can feel like learning a new language when you first open up a set of complex wooden boat plans. For many enthusiasts and builders, staring at a sea of lines and symbols can be overwhelming, making it difficult to visualize how the final vessel will actually sit in the water.
Whether you are building your first skiff or planning a large sailing yacht, understanding these drawings is essential for accuracy. This guide will help you move past the initial confusion by breaking down the technical details into manageable steps.
You will learn how to navigate different types of nautical drawings and understand the specific boat plan scale used to maintain proportions. We will also explore common blueprint symbols and provide practical tips for interpreting complex views like plans, profiles, and sections. By the end, you will have the confidence to translate these 2D markings into a beautiful, three-dimensional wooden masterpiece.
In this article:
- Understanding boat plan scales and dimensions
- Common symbols in nautical drawings
- Interpreting different views and projections
- Analyzing complex wooden boat plans
- Common mistakes when reading blueprints
- Frequently Asked Questions
- Final Thoughts
Understanding boat plan scales and dimensions
Understanding the boat plan scale is one of the most important skills when you begin reading boat blueprints. Because it is often impossible to draw a full-sized vessel on a single sheet of paper, scales allow you to represent a massive wooden hull in a manageable format.
A scale tells you the relationship between the measurements on your paper and the actual dimensions of the finished wood. For example, a 1:50 scale means that every inch on your blueprint represents 50 inches on the physical boat. Learning to translate these numbers ensures that your proportions remain accurate as you move from the drawing board to the shipyard.
How to interpret common scales
Most wooden boat plans use a ratio system to help builders visualize the final product. You should look for a scale bar or a numerical ratio, usually found in the corner of the blueprint.
- A small scale (like 1:100) is excellent for seeing the entire boat's silhouette at a glance.
- A large scale (like 1:5) is better for looking at specific details, such as the curve of a single rib or the shape of the stem.
- Medium scales are often the "sweet spot" for general construction and layout planning.
To translate these measurements accurately, you can use a ruler to measure a specific line on the paper and then multiply it by the scale factor. If your blueprint is at 1:20 and you measure a section as 4 inches long, that piece of wood will actually be 80 inches long in reality.
Practical tips for accurate dimensions
Accuracy is vital because even a small error on paper can lead to significant mistakes when cutting your timber. Always double-check the scale before you start marking your wood.
- Use a boat plan scale ruler if the drawings are not perfectly proportional, as these rulers account for slight variations in the drawing.
- Verify at least three different points on the blueprint to ensure your math is consistent across the entire layout.
- Remember that some parts of a boat may be drawn "to scale" while others, like small hardware or decorative carvings, might be drawn slightly larger to make them easier to see.
Common symbols in nautical drawings
Understanding the visual language of reading boat blueprints starts with recognizing standard markings. Just as words form sentences, these symbols provide the shorthand needed to communicate complex structural details without cluttering the page.
Identifying Joints and Connections
When you are looking at wooden boat plans, knowing how two pieces of timber meet is essential. Blueprints use specific marks to indicate whether a joint is butt-joined, mitered, or overlapped.
- A simple line intersecting another often represents a basic meeting point between two structural members.
- Curved lines at the ends of straight beams usually indicate where a piece should be rounded off or tapered.
- Small circles or dots can represent the center points for pegs, dowels, or bolts used to secure the frame.
Decoding Curves and Contours
Because boats are defined by their flowing shapes, interpreting nautical drawings requires a keen eye for curve symbols. These marks tell you how much "bend" is required in a piece of wood.
- Double lines often represent the thickness of a plank or the width of a keel section.
- A dashed line frequently indicates a hidden edge, such as the underside of a hull that isn't immediately visible from the top view.
- Small arrows on curved lines show the direction in which the wood should be bent or shaped during construction.
Material and Texture Markers
Standard blueprint symbols also help you distinguish between different types of materials at a glance. These markers ensure that you don't mistake a structural rib for a decorative trim.
- Hatching patterns, or series of parallel lines, can indicate the grain direction of the wood or the density of the material.
- Shaded areas often represent "bulk" sections, like where several layers of planking are joined together.
- Specific icons may appear next to a line to denote a transition from one material, such as oak, to another, like teak.
Interpreting different views and projections
Understanding how to navigate different perspectives is one of the most important skills when reading boat blueprints. Because a wooden boat is a three-dimensional object, a single flat drawing cannot capture every detail at once. Instead, designers use various views and projections to show you exactly what each part looks like from different angles.
The Plan View
The plan view shows the boat as if you are looking down on it from directly above. In wooden boat plans, this is often called the "overhead" or "bird's-eye" view. It helps you understand the overall width and length of the hull, as well as how much deck space you have available.
The Elevation View
An elevation view shows the side profile of the boat, similar to looking at it from the water level. This is perhaps the most common way to visualize the shape of a boat's hull. It highlights the curve of the bottom, the height of the sides, and how the boat sits in the water.
The Profile View
While often used interchangeably with elevation, a profile view specifically focuses on the outline or silhouette of the vessel. In nautical drawings, this is your primary guide for seeing the "flow" of the design from bow to stern. It helps you visualize how the boat will move through waves.
The Sectional View
Sectional views are like taking a vertical slice through the boat, much like cutting a loaf of bread into slices. These drawings show what is happening inside the hull or beneath the surface of the wood. They are essential for understanding the thickness of the planking and the internal structure of the ribs.
Cross-Sections
A specific type of sectional view in boat building is the cross-section. This shows a "slice" of the boat at a specific point, such as exactly halfway between the bow and the stern. These views are vital for ensuring that the curvature of the wood remains consistent throughout the build.
Analyzing complex wooden boat plans
Navigating complex wooden boat plans requires a systematic approach to ensure you don't miss any structural details. Instead of looking at every line at once, try to view the blueprints as a chronological story of how the vessel is built from the bottom up.
Following the Construction Sequence
Begin your journey with the hull shape, which serves as the foundation for everything else. These drawings show the "skeleton" of the boat, highlighting the keel, ribs, and frames that provide structural integrity.
Once you understand the hull, move to the deck layout. This view helps you visualize how much space is available for seating, storage, and movement before you start adding heavy timber components.
Integrating Multiple Perspectives
To master reading boat blueprints, you must learn to connect different views simultaneously. For example, a specific rib on the side view will correspond to a precise point on the plan view.
Try following a single component through every drawing type:
- Identify a frame in the profile view to see its height and curvature.
- Locate that same frame in the plan view to see its width and spacing.
- Check the cross-section view to understand how thick the timber should be at that exact point.
Visualizing the Final Form
Complex plans often include "stations" which are specific points along the length of the boat. By identifying these stations, you can see how the hull narrows or widens as it moves from the bow to the stern.
Take your time to trace the flow of the wood. Understanding how a curved plank on the hull meets the straight line of the deck will help you anticipate the challenges of the actual assembly process.
Common mistakes when reading blueprints
Mastering the art of reading boat blueprints requires more than just looking at the lines on the page; it requires a keen eye for detail. Many builders encounter frustrating hurdles because they overlook small but significant nuances in how the drawings are presented.
Misinterpreting the Scale
One of the most common mistakes occurs when you assume two different sections of wooden boat plans use the same scale without verifying it first. A mistake here can lead to a hull that is either far too large or much smaller than intended for the actual water.
Always check the boat plan scale provided in the legend before you begin your measurements. It is easy to glance at a beautiful drawing and forget whether you are looking at a full-scale layout or a simplified overview meant only for visual reference.
Confusion Over Orientation
Understanding which way the boat is facing is vital for accurate construction. A common error is failing to identify the "bow" (front) versus the "stern" (back) on a 2D drawing, which can lead to placing components in the wrong places.
When interpreting nautical drawings, it helps to look for small indicators like arrows or labels that show the direction of travel. If you lose track of the orientation, your structural ribs and planks might end up mirrored or rotated incorrectly during assembly.
Overlooking Blueprint Symbols
Skipping over the blueprint symbols can lead to missed instructions regarding materials or joints. Every tiny icon represents a specific piece of information, such as a curve radius or a thickness measurement that isn't explicitly written out in words.
To avoid these errors, take a moment to study the key or legend before you start building. Knowing what each stroke and dot means ensures that your construction matches the designer's original vision perfectly.
Frequently Asked Questions
What is the difference between a plan view and an elevation view?
A plan view shows you what the boat looks like from directly above, similar to looking at a map. It helps you understand the overall layout, width, and length of the hull. In contrast, an elevation view provides a side profile or "face" view, showing the height and vertical shape of the wooden boat as if it were standing upright.
Final Thoughts
Mastering the art of reading boat blueprints is a rewarding journey that turns complex nautical drawings into a clear roadmap for your next build. By understanding the specific scale, identifying common blueprint symbols, and learning to interpret different views, you gain the confidence to see the finished vessel before the first plank is even laid.
Keep these three key points in mind as you progress:
- Scale and dimensions provide the precise proportions needed for accuracy.
- Blueprint symbols act as a universal shorthand for construction details.
- Consistent practice helps you transition from viewing lines to visualizing 3D structures.
To get started tonight, pick up your favorite set of wooden boat plans and simply try to identify three different views of the hull. Focusing on one small section at a time makes the entire process much less overwhelming.


No comments:
Post a Comment